GRS on Mobile Device
This guide provides step-by-step instructions for processing GRS(Internal Transfer) through the mobile application.
Overview
The Barcode application allows warehouse staff to efficiently process of internal transfer by scanning barcodes and validating GRS.
GRS Processing Workflow
Follow these steps to properly receive and register incoming goods:
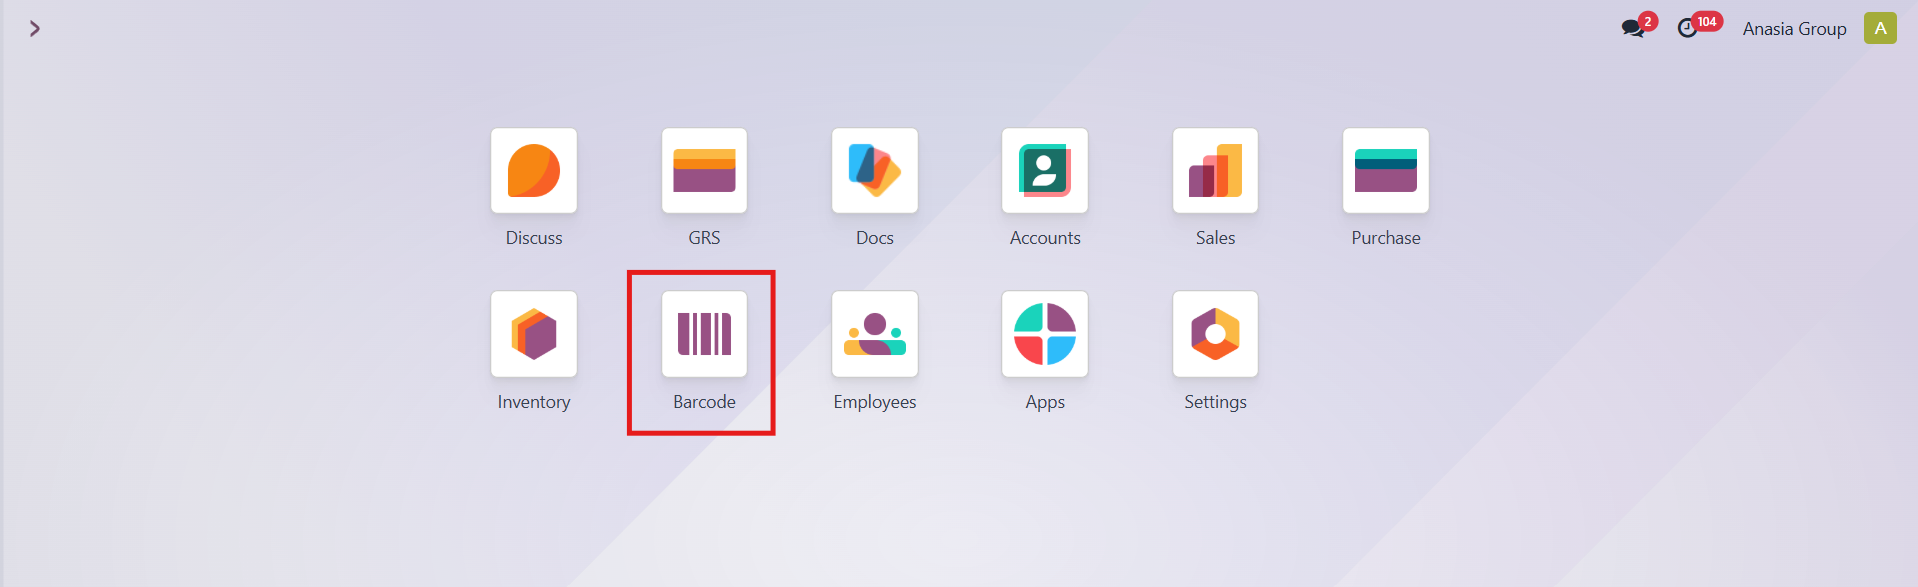
Step 1: Access the GRS Module
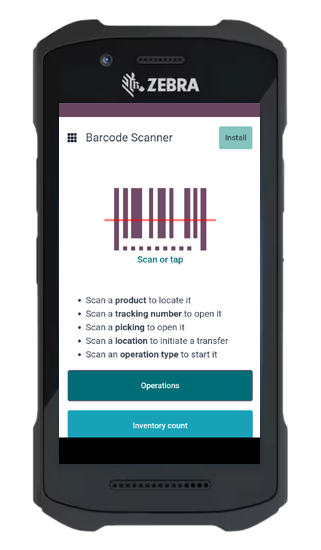
Step 2: Scan GRS Document
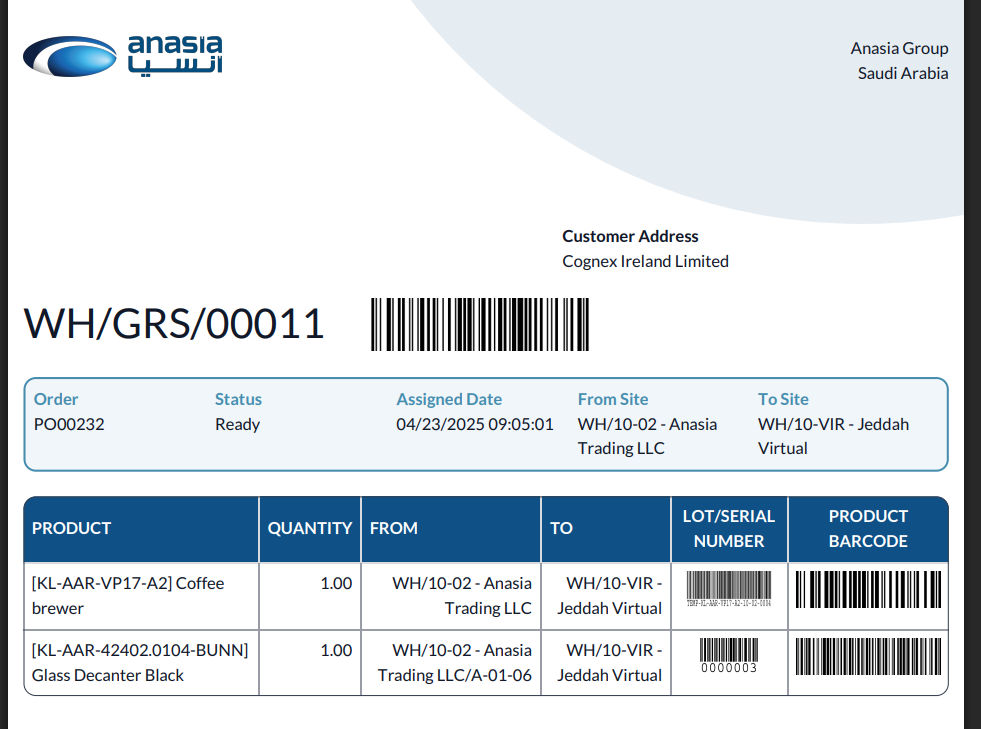
Scan the GRS Note barcode using your mobile device to retrieve the expected transfer details.

Step 3: Process Each Product
For each product in the GRS:
- Scan the corresponding Lot/Serial number
- Scan the product barcode for non Lot/Serial number products

Step 4: Complete All Items
Repeat Steps 3 for all products included in the current GRS.
Step 5: Validate Transfer
Once all items have been processed, tap the Validate button to complete the GRS process.
Step 6: Handle Incomplete Transfers
If not all expected items were received, the system will prompt for confirmation and display a summary of received items.

You can either:
- Click Validate to confirm the partial receipt
- Click Stay on transfer to return and process additional items
Step 8: Completion
After validation, the system will: - Return to the main scanning menu - Automatically create a backorder for any non-received items

Important Notes
- The system automatically tracks discrepancies between expected and actual received quantities
- Backorders are generated without requiring manual intervention